Batch editing in Lightroom: My Japan Trip
In April, I fulfilled a lifelong dream and took a trip to Japan. My wife and I actually spent a few days in Beijing on the way over, and visited the Great Wall. We then flew to Tokyo, where we caught the bullet train and visited Kyoto, Hiroshima and many other wonderful locations. I took along my old Canon 550D, with a new 55-250mm zoom lens and did my best at capturing our trip.
Japan is one of the most photogenic places I've ever visited. The mix of the ultra-modern and pristine ancient landscapes is unbelievably captivating. But because we were on the go so much, I shot pretty much the entire trip using the 'full-auto' setting on the camera. While this does a pretty good overall job, it simply doesn't sell the vibrancy of the colours we experienced, and on particularly dull days a lot of my pictures were fairly lacklustre.
I would usually edit my snaps in Photoshop. However, I took over 1500 pictures on our trip, and processing each and every picture here would be painstaking. I also needed a way to quickly cull or crop a vast majority of these pictures. So, using Adobe's Lightroom (for the first time in my career!), I set out on the task of batch editing all of my pictures.
Step 1. Crop & Straighten
With my files imported, I hit the Crop Overlay tool under the Develop menu. From here I straightened and cropped my pictures either to look more centralised, or to put points of interest into the 1/3 area of the picture, using the guidelines. In this example, I moved the centre of the bridge into the bottom-right third of the crop.
Step 2. Colour Treatment
Most of the shots in my library were massively over-exposed and had a crappy white balance setting. So I brought the exposure down and reduced the blacks setting. Then, I highlighted any colour in the image by increasing the clarity, vibrancy and saturation of the picture.
Step 3. Sharpen
These images were mainly going to Facebook, so to increase any detail in the image (handy for online viewing) I sharpened the image a touch. This can be found under the Detail menu.
Step 4. Copy and Cull.
With these settings complete, and still under the Develop menu, I simply hit Command-C to copy the settings, and Command-V to paste them onto the next photo. This is a huge time saver. Each photo had to be cropped again, but the colour and detail settings can all be copied directly to the next pic. Obviously, the colour and sharpen settings also need to be tweaked for each picture (especially the saturation). I actually combined my DSLR shots with some iPhone pics I took, and these had massively different needs.
While progressing through my album, I deleted photos as I went. You can remove pictures from Lightroom only (option-backspace), so you're not deleting any originals, and from my original 1500 I managed to ruthlessly select around 200.
Step 5. Export for Screen
With my pictures chosen and edited, I went to export them (select File - Export). From this menu, I renamed the new shots, and made sure that they wouldn't unnecessarily take up too much size on my computer. I limited the file size to under 1.5MB each (still pretty large) and brought the height and width down.
Results.
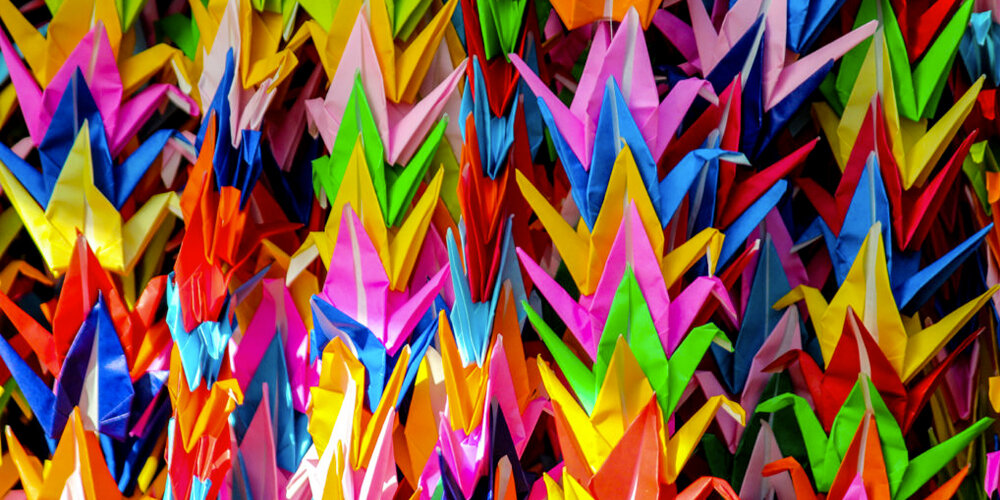
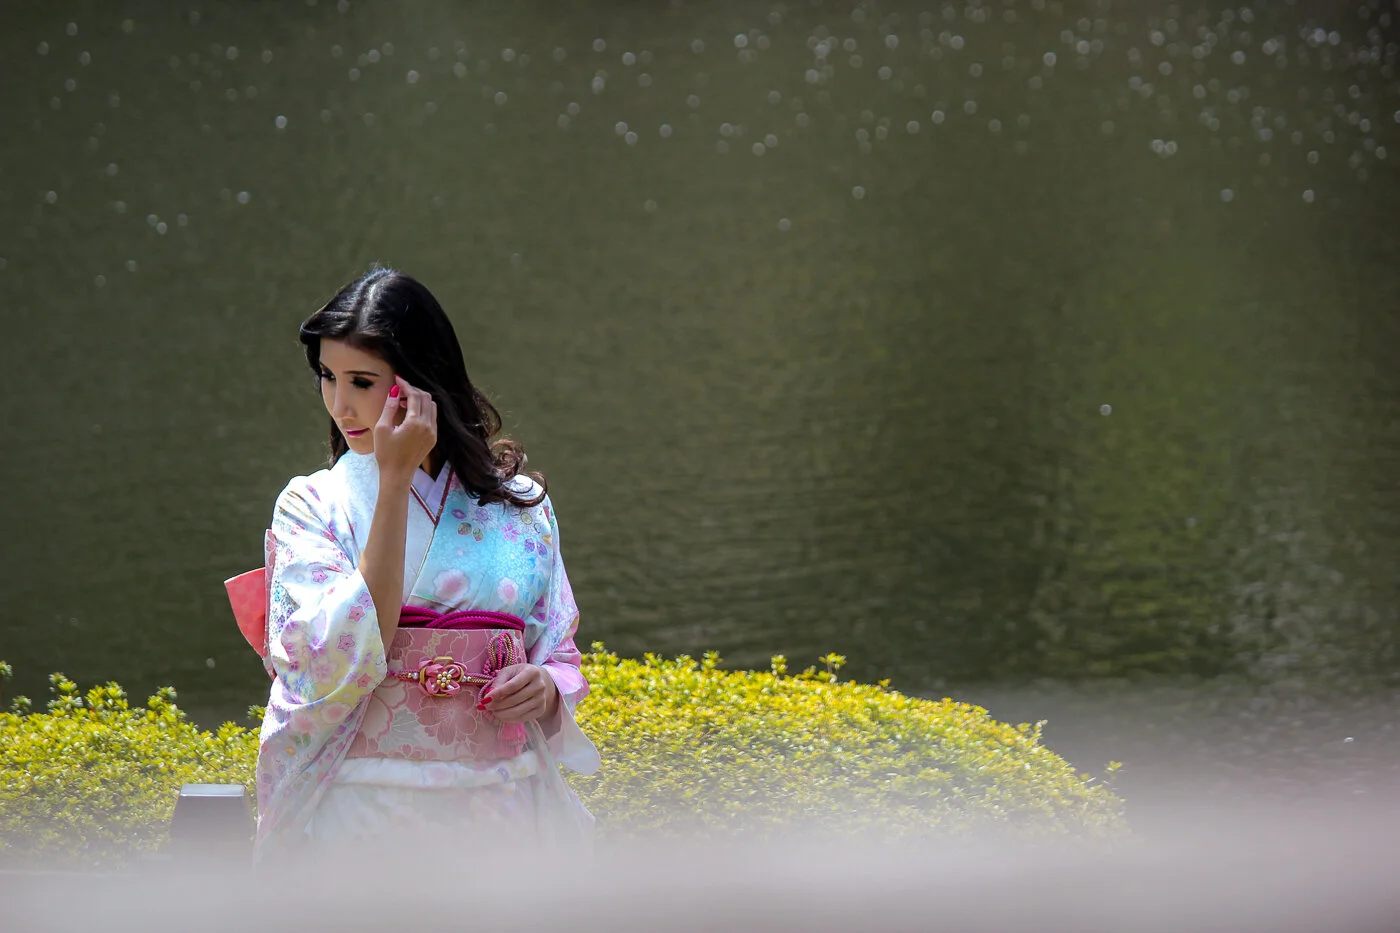
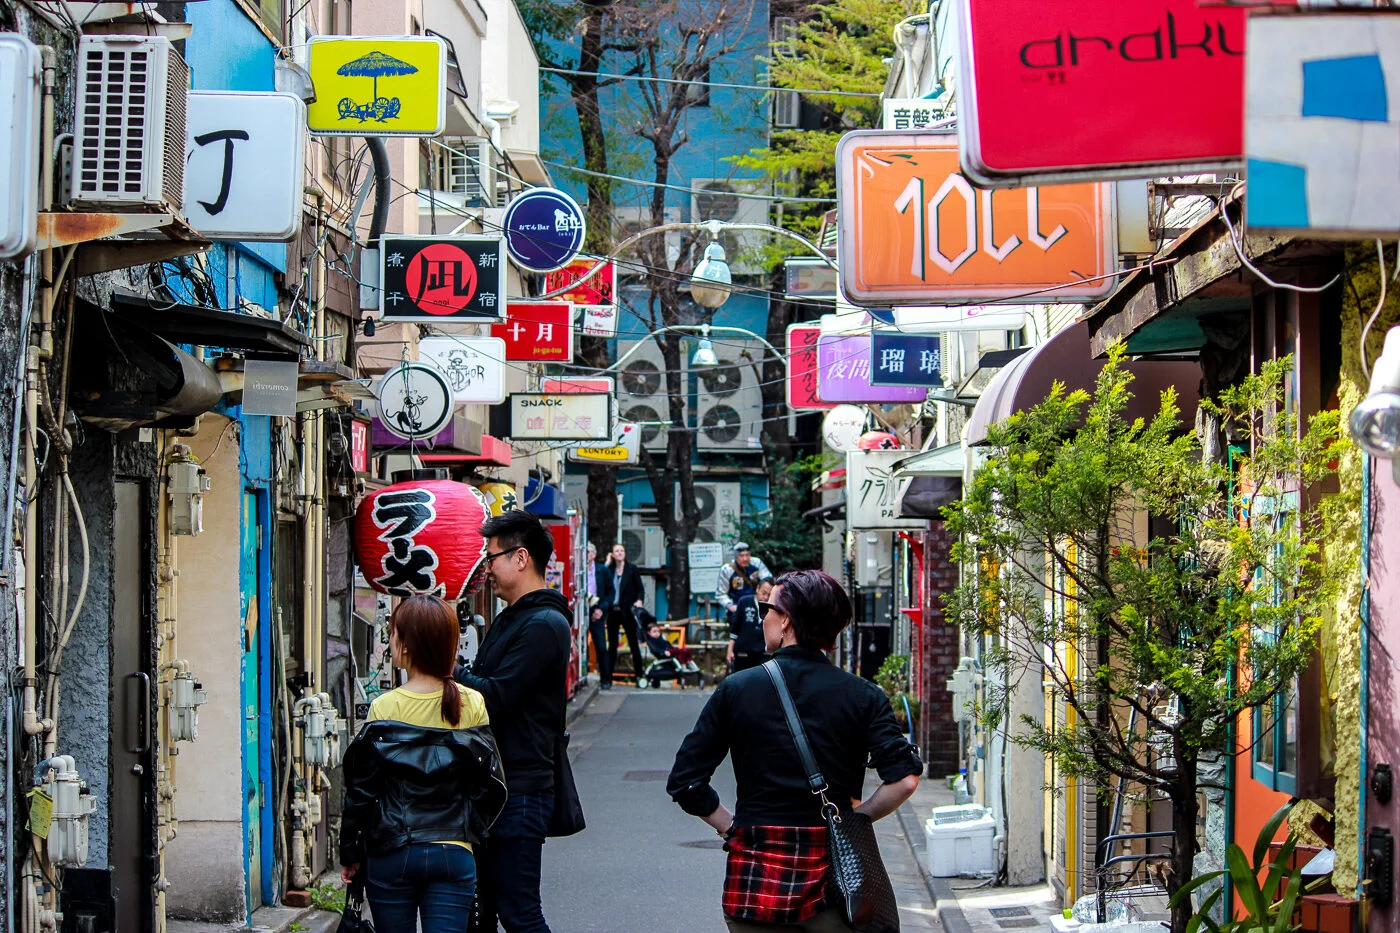
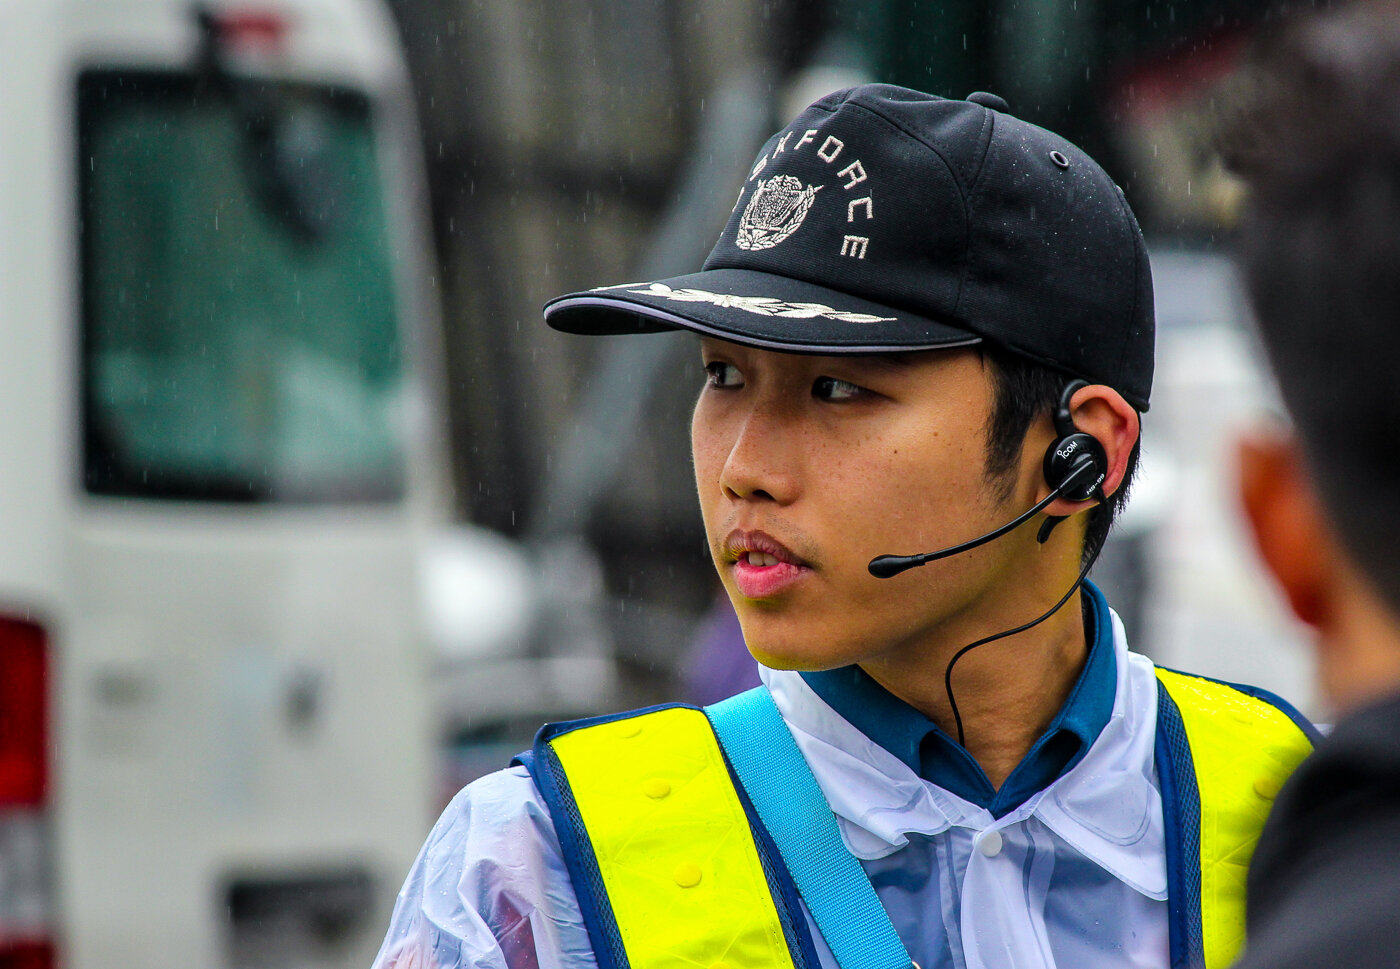
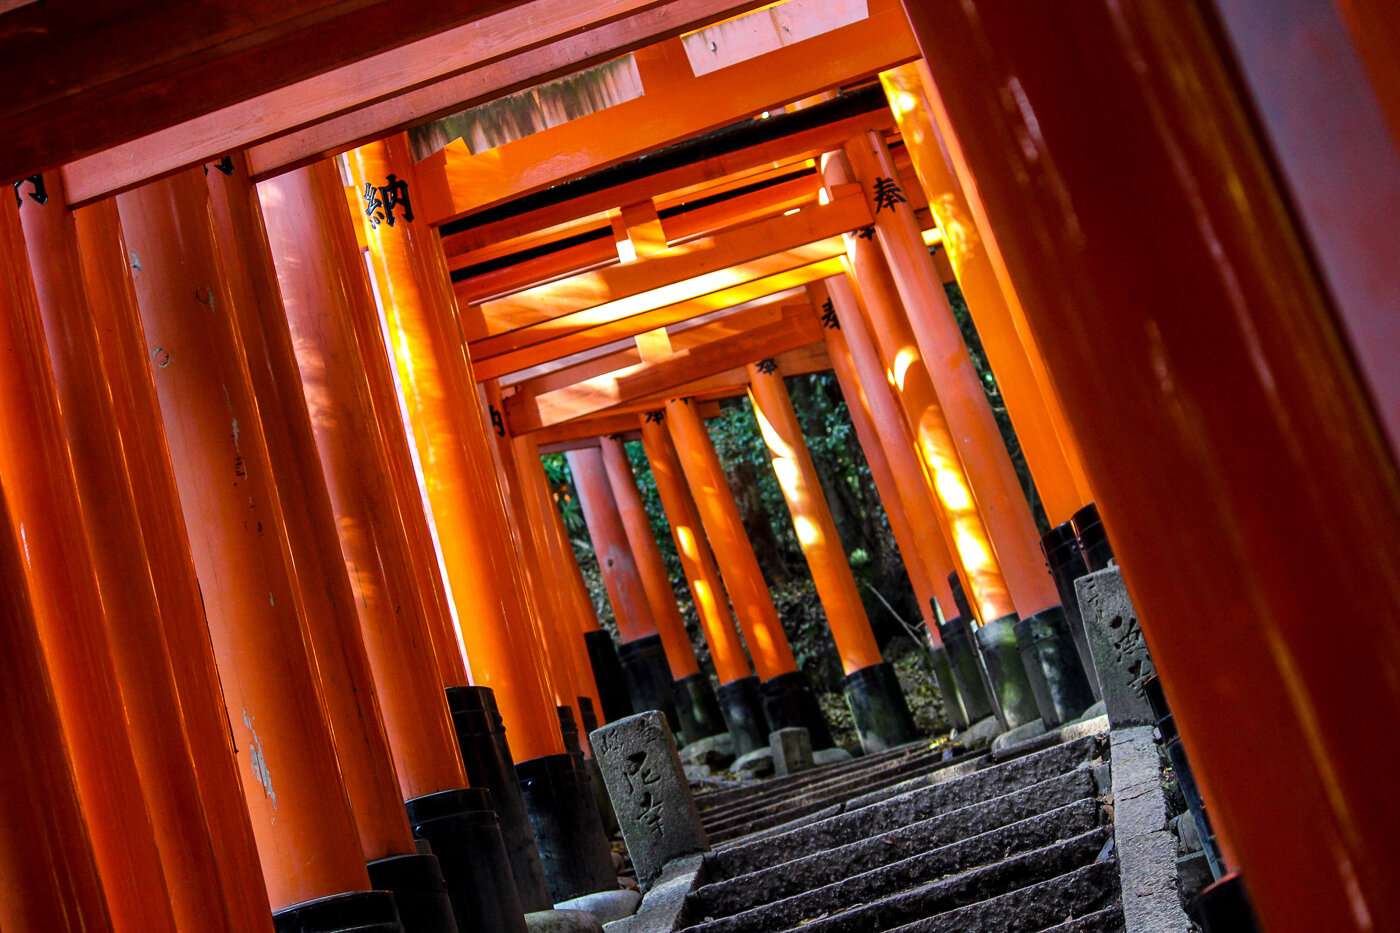
Here is a selection of shots I'm particularly proud of. The whole process was a huge amount of fun, and most-importantly, a huge time saver.P.S. Go to Japan. You won't regret it.

