Restoring my Grandma's photo in Photoshop
Like most web designers, I barely use photoshop for its intended purpose. It's obviously a very powerful photo manipulation tool, which happens to have an added bonus of having everything you need to create designs for beautiful web sites and apps. Arguably though, its real power lies in the transformation of raw camera footage, into pretty much anything you want.
Photoshop retouching is a pretty controversial issue at the moment. Campaigns for showcasing 'real', untouched images of women in magazines are rife. But you really do have to admire the skill of these artists (and they are artists). The ability to spot artefacts and unsettling quirks with an image that you barely notice until they have been edited or removed, is a true skill.
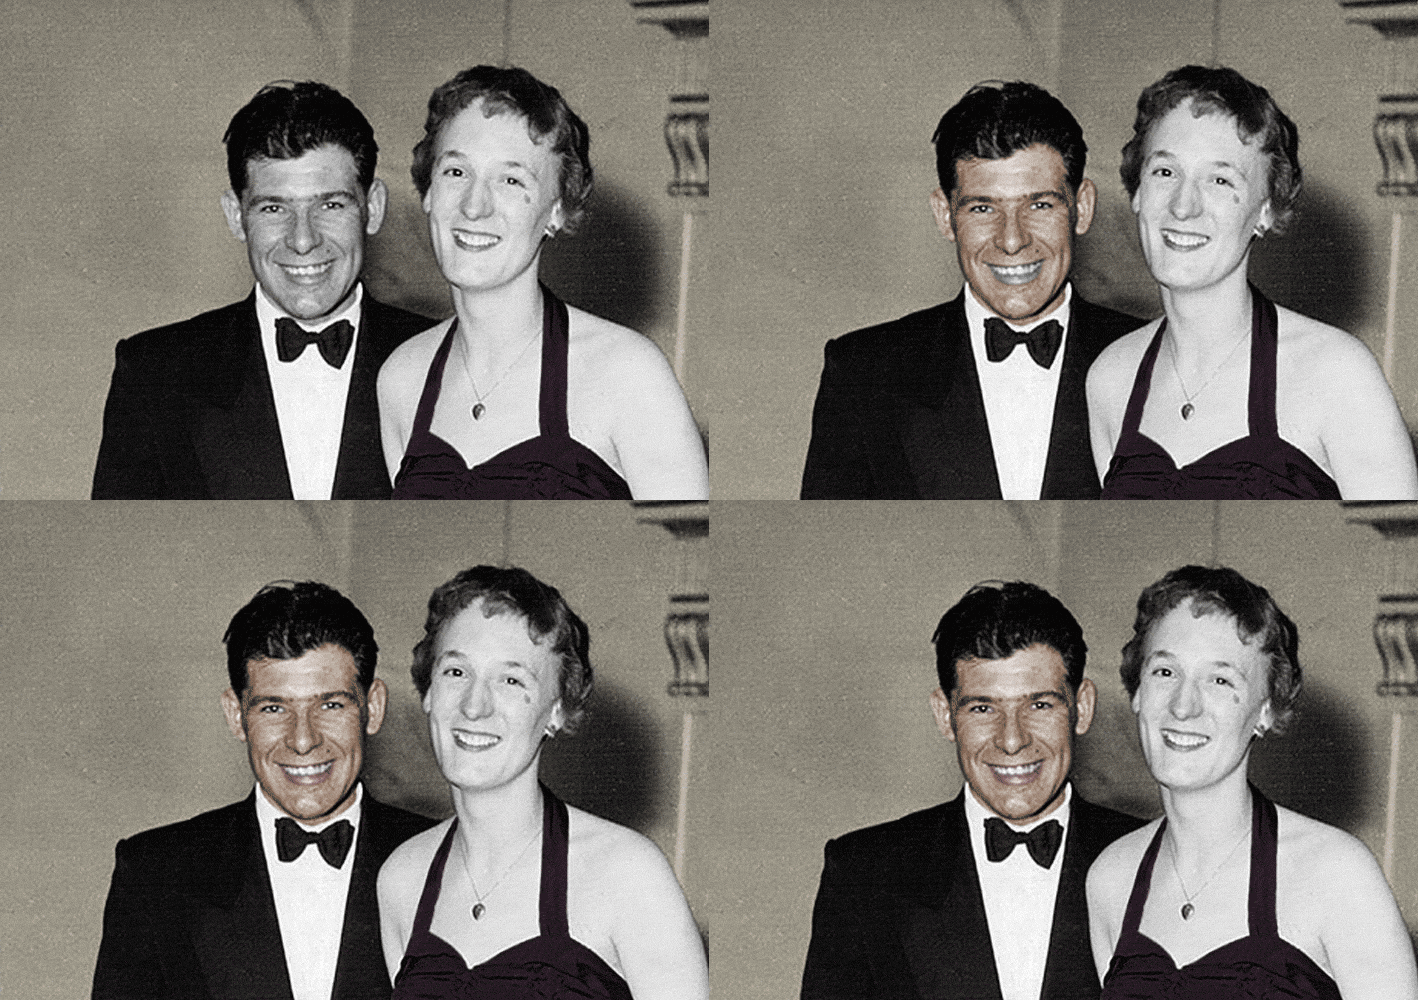
A few months ago I watched this amazing video of a time-lapsed colorisation and restoration of an old photo and I've been desperate to give it a go ever since. My wonderful grandmother turned 84 this month, so I asked my mam to scan over a picture of her and the late Geordie legend that is my granddad Ted. All with the aim of bringing this photo from 1954 to life with some colour.
This is the original.
The scan isn't amazing and the resolution is unfortunately quite low (1074x1692). The first step was to remove all colour from the image (including the RGB horizontal aliasing that the scan included) and use the curves tool to bring out the highlights and shadows.
Then I cleaned the dust and scratches with the spot healing and clone stamp tool, including the frayed and cracked corners/borders.
Now with a clean, black and white image as a good starting point, I began to add colour. Starting with the railings. I used a clear layer, with an overlay blend mode and a hue/saturation adjustment layer. I could then paint over the image in sections, allowing me to edit the colour easily afterwards.
Choosing colours was difficult. I found my self Googling phrases like "1950s stairwell railing" to try and find an appropriate palette. But the floral and wave section of the rail is clearly lighter than the bars. I then added the walls and carpet.
Then I added grandma's dress. Again, picking a colour wasn't easy, but the shade of grey was dark enough to be either green, purple or a blue. I chose a purple, as this was the most complimentary against the green railing.
I started with granddad's (makeup-free) skin as I thought this would be the easiest. He was an outdoorsy type, and clearly more tanned than my grandma. The hardest part here was his lips, and I kept giving him lipstick! It took endless toying to pick the right shade. I also polished his scuffed shoes.
Grandma's skin tone and hair was, without a doubt, the hardest part of the whole image. I'm still not certain I've got it quite right. The flash on the camera was clearly quite harsh, and with grandma in the foreground, she absorbed most of the light here. The fine detail on her jewellery was also difficult.
With the colouring done, I finished up with some global effects, including a faint noise layer, a curves layer (to pop the new colours) and then increased the saturation right at the end, which I'm sure you'll agree, rounds the whole image off really nicely.
Here's the final version in stages.


